Marble run plans complete
Well after lots of screwing around in Autodesk Inventor I finally have the final plan drawn up for the marble run portion of the machine.
I have also made a major change to my expected overall design, making it a much flatter design, making for simpler parts and less supports needed.
I started just doing one small portion of the mechanism i decided to call the dripper because it "drips" marbles, from this i also had a go at running dynamic simulations and managed to run and test the "dripper" and render a video of how it went.
More recently I have also rendered an image of the whole setup (without the cabinet, pivots ect) and can be found HERE (my thumbnail generator is not working properly)
I have printed out templates for all of the pieces and plan on cutting these out as MDF templates some time next week.
Splayd or Spork?
After taking a splayd to school recently, it was interesting to find out how many people, could not determine the difference between splayd and spork.
So i have decided to do some research to prove my point and demonstrate the difference between a splayd and a spork.
To begin with a Wikipedia definition of a splayd
A Splayd (plural 'Splayds') is a brand of single eating utensil combining the functions of spoon, fork, and knife, generically called a sporf. It was invented by William McArthur in the 1940s in Sydney, Australia.
In addition to an overall spoon shape with four fork tines, it has two hard, flat edges on either side, suitable for cutting through soft food.
With the Definition of a spork being
A trademark for a plastic eating utensil that has both tines and a bowl like a spoon
From looking around i found that many people have trouble distinguishing between the two and found a good post that compares the two
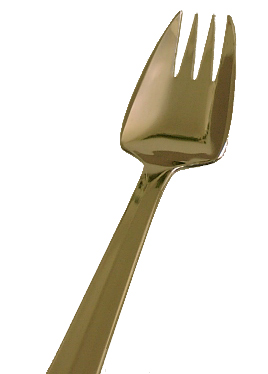
This, my friends, is a spla(y)d(e):
You'll notice it has a sharper, square-like base for assistance in cutting, a bit like a blade - hence the "ade" sound in the name "splade". (Some actually have a serrated edge, or have the sharper points further up the bowl of the splade, making it kind of pentagonal.)
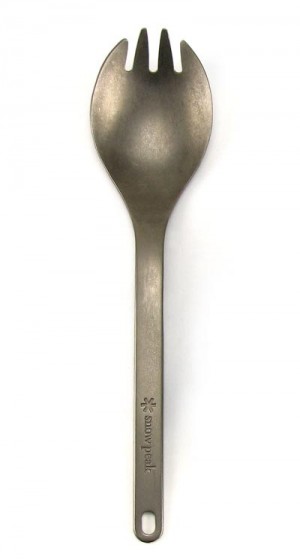
This, on the other hand, is a spork:
You'll notice it has no sharp corners and is completely round, like a spoon.
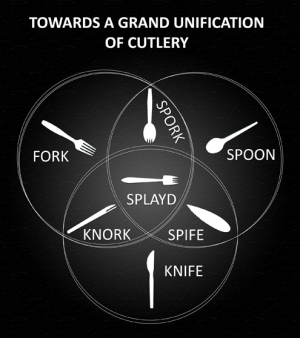
And finally when looking for pictures of splayds i came across this picture which details the evolution of cutlery
openTrack V1
I wrote up a small tracker server for a friend on the NCSS challenge forums. Its intended use is for connecting users in simple P2P applications such as chat programs, games ect.
It can be accessed with brief instructions HERE
Also as part of the project i learned how to use GIT so the source of the project can be found on Git-hub HERE for those interested, so if you have any ideas or find any bugs that would be the place to leave them.
I hope somebody finds this useful, and if not i think i may have some uses for it in future projects (such as super multiplayer multilayer networked pong)
DIY Watch Repairs/Tools
Recently the clasp in my watch had randomly started to undo itself. A bit of jiggling and fiddling and it seemed the cause was an internal spring of some kind had ceased to pull the buttons back into the locked position.
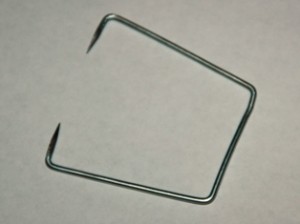
I created this tool out of a piece of coat hanger to press in the ends of the spring pins to remove the clasp from the watch
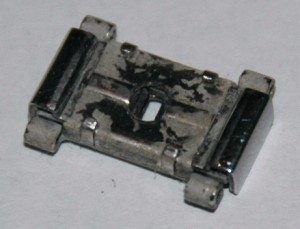
The clasp mechanism after being removed from the band and its backing by removing spring pins with the above tool, The next stage was to unbend the four pins keeping the cover on, i forgot to get a photo after i had taken that off. (And yes the grime on it is quite disgusting)

As soon as I took the panel off a few little springs bounced out, and as i suspected they were broken and tangled. The photo is off one of the largest pieces next to a 5c coin for reference
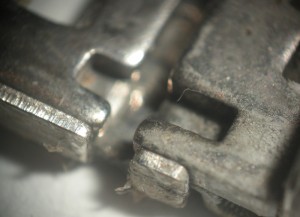
This is the socket that the spring was supposed to rest in, unfortunately I didn't get an overview of the mechanism, but there was another similar socket on the other side

And here was the cheap and simple fix, having no springs anywhere near that size. I cut a tiny fragment off an elastic band.
The only remaining thing to do was to reassemble the clasp and re-attach it to the band and it worked, it now no longer falls off by itself. I'm not sure how long the rubber will hold up but until it fails im happy.
The closeup images where taken using the setup HERE
Macro Photograpy
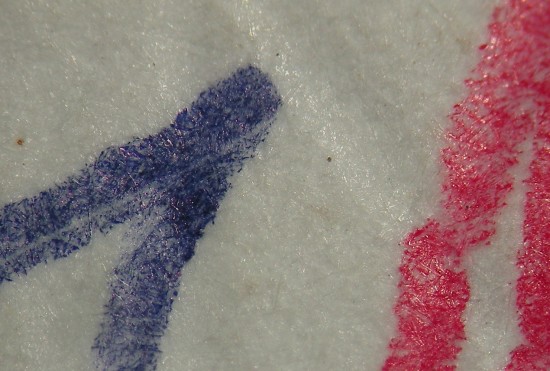
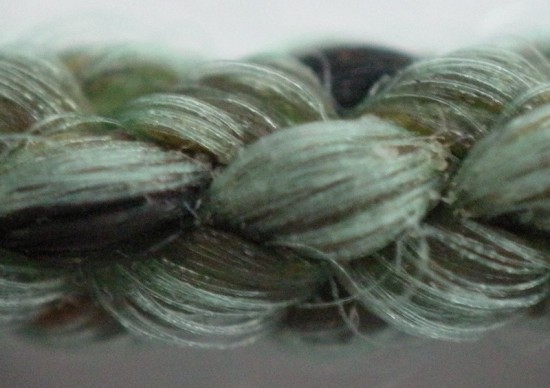
My past few posts have included really big pictures and this post includes some of the opposite. Fiddling around with a lens I have pulled out of a laser printer I found that it greatly magnified things, the obvious next step was to attach it to the front of a camera and see what kind of photos you could take with it. It worked quite well but I had to try to manually focus the camera by adjusting how far I held it from the object and the photos had a very narrow depth of field.

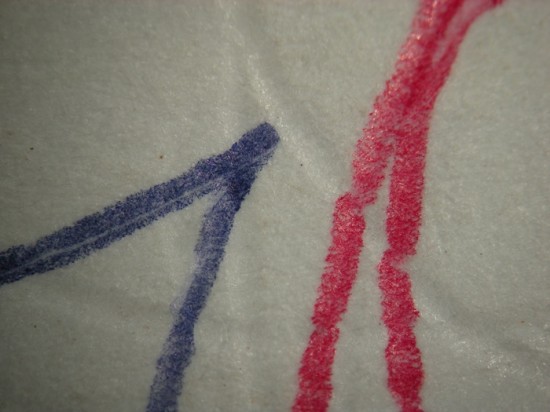
As a last test out of interest I took a photo and LCD screen, the lines are so bright you cant even make out what was originally on the screen
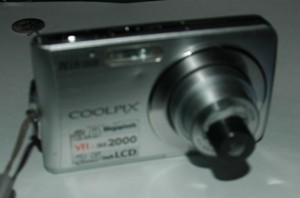
Last of all here is the setup I used, all it is is the lens blu-tacked to the front of the camera, not shown is a piece of post it note over the flash to give a less glared image
Edit: I have also used this setup to take photos of some of the fine parts in my watch when I did repairs, this can be found HERE
